 |
| Kirsten Kimono Tee, as modelled by Flossie |
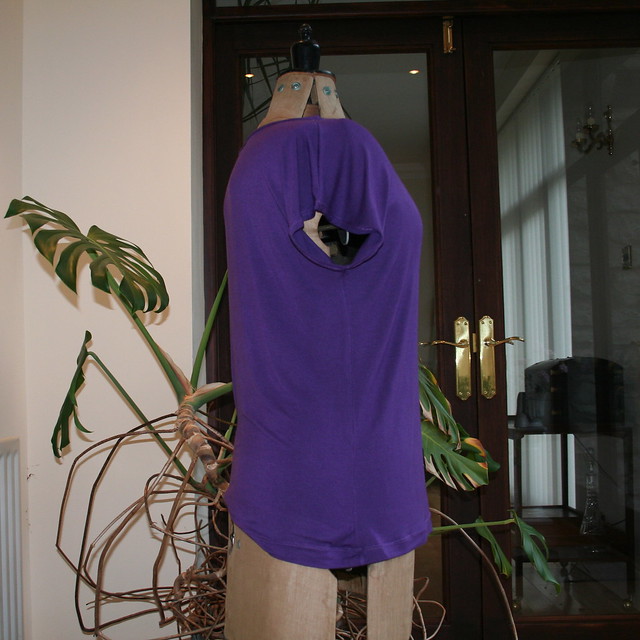 |
| Side view |
I have to admit straight away that all of my fabric use planning in my previous Knits That Fit post was completely wasted, because when it came down to it I totally changed my mind about what to make. It turns out I am the LEAST good at advance planning in this respect. /o\
I really REALLY love this t-shirt. I am absolutely willing to wear it outside of the house. \o/
 | |
| Maria Denmark's Free Pattern |
I did stick to plan in that I did use the (FREE) Kirsten Kimono Tee pattern (Craftsy link -- you can also download it other places including PR) by Maria Denmark. My review on PR is here if you're interested. Here's all the rest of my mumblings about it though:
Being a veteran of bag-making from patterns I buy online, I have no problem downloading and printing patterns. I can't say putting it together was tremendous fun but nor was it especially painful, especially since the pattern author made a good effort to make it easy with little target circles in the corner of each page.
Slightly more of a nuisance is that you have to add your own seam allowances. I added mine on the pattern paper using a seam gauge ruler, as I tend to with Ottobre, as I am hopeless at eyeballing distances when I am cutting. I also lengthened the t-shirt by 6cm.
The instructions are minimal but probably perfectly adequate for anyone who isn't, well, me. I had NO IDEA what I was doing, really, in terms of which machine (sewing machine or overlocker) I should use when and how, and how to avoid my fabric being eaten by the needle and so on. I ended up doing quite a lot of reading around in my books/on the internet to get started and keep going. I am definitely not faulting the author for her instructions! However, the instructions alone were not enough for me to make the tee successfully. I used a combination of Dixie DIY's Never Fear Knits posts, Sew U Home Stretch (Amazon UK link) and other random bits and bobs from around the internet to help me.
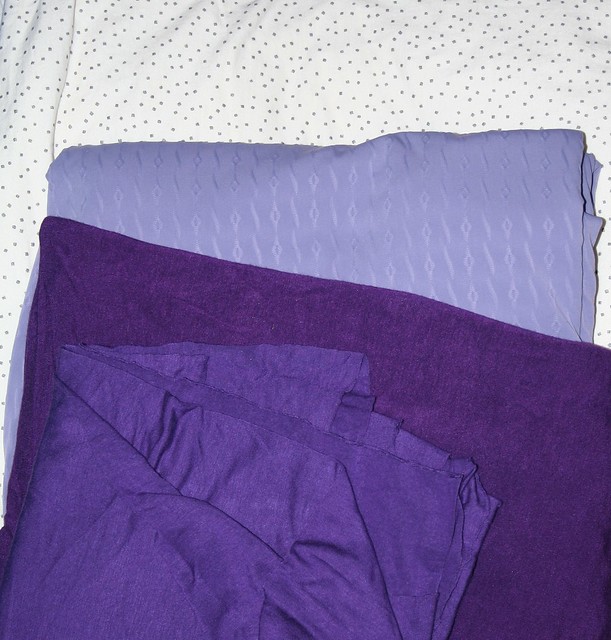 | |
| Pile of purple jersey |
The nice thing about making t-shirts is that really, even if they don't look great, you can always wear them as base layers or nightwear. Mine might even end up as a camisole type top under the dress I plan to make with the lighter purple fabric second from the top in the photo above.
Nit-pickery (where I critique my sewing):
+ Let me just say this first: MY FIRST KNIT GARMENT: DONE \o/. Glad to get that first thing over with.
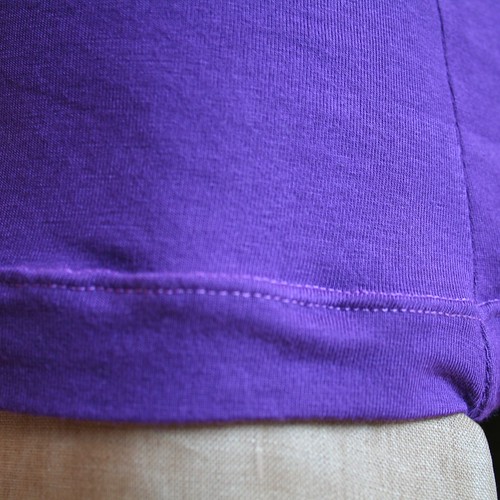 |
| Check out my twin needle stitched hem \o/ |
+ Using the twin needle was also really fun and easy. I worried that I would wander away from edge, but I didn't wobble off it even once. I did use a 4mm width though, precisely because I was concerned about this. It's probably harder if you use the narrower 2mm needles. Still, I love the way that worked out.
- There is a ridge in my twin needle work. I think I needed to play with my settings more (longer stitch length? use my lower tension bobbin case?) or think about stabilizing the seam. It ironed out a bit, but it's not great.
- Curves on my overlocker: not a thing of beauty OR a joy forever. I re-did the underarm seam like 4 times and it's still crap.
- The worst thing of all is the neckline binding. I think I should have cut it out differently, for a start. But also, it's such a MESS right at the front where it's really visible. And, stupidly, I used stitches too small to unpick, so I am stuck with it. Ironing helped a LOT, but what would have helped more was more pinning and more thought before I started sewing. Luckily, I think the next knit pattern I am trying has facings, so it will be less painful (I hope).
I love the color! I also made this top and noticed the neck binding issue.
ReplyDeleteBecause the front is longer than the back, if you evenly devide the binding as instructed the front bunches up.
Next time, I'm going to cut the front and back binding separately.
http://lifeofadragonsmom.blogspot.com/2012/09/maria-denmark-kirsten-kimono-tee.html
I love this shade of purple. You can never buy it anywhere because it never seems to be in fashion, but I have the answer now with sewing my own! :D
DeleteI had so many problems with the binding, all of it user created I'm afraid. I didn't have any bunching, it didn't turn out terribly well. Still, if anyone is staring hard enough at my neckline to notice, they have bigger problems than my wonky binding.